Connecting to Deucalion
To access the Deucalion supercomputer, you must first link your local machine to the cluster using SSH (Secure Shell) keys.
Generate your SSH keys
Start by generating an SSH key pair as detailed below.
An SSH key pair can be generated using a Linux, macOS, Windows PowerShell terminal. For example, you can use the following command to generate an ed25519 key:
ssh-keygen -t ed25519
Please choose a secure passphrase. It should be at least 8 (preferably 12) characters long and should contain numbers, letters and special characters. Do not leave the passphrase empty.
After that an SSH key pair is created, i.e. a pair of files containing the public and private keys, e.g. files named id_ed25519_macc (the private key) and id_ed25519_macc.pub (the public key) in your /home/username/.ssh/ directory.
The private key should never be shared with anyone!!! It should also be stored only on your local computer (public key can be safely stored in cloud services). Protect it with a good password! Otherwise, anyone with access to the file system can steal your SSH key.
Register your public key
Now that you have generated your key pair, you need to register your public key in your Deucalion User Portal settings.
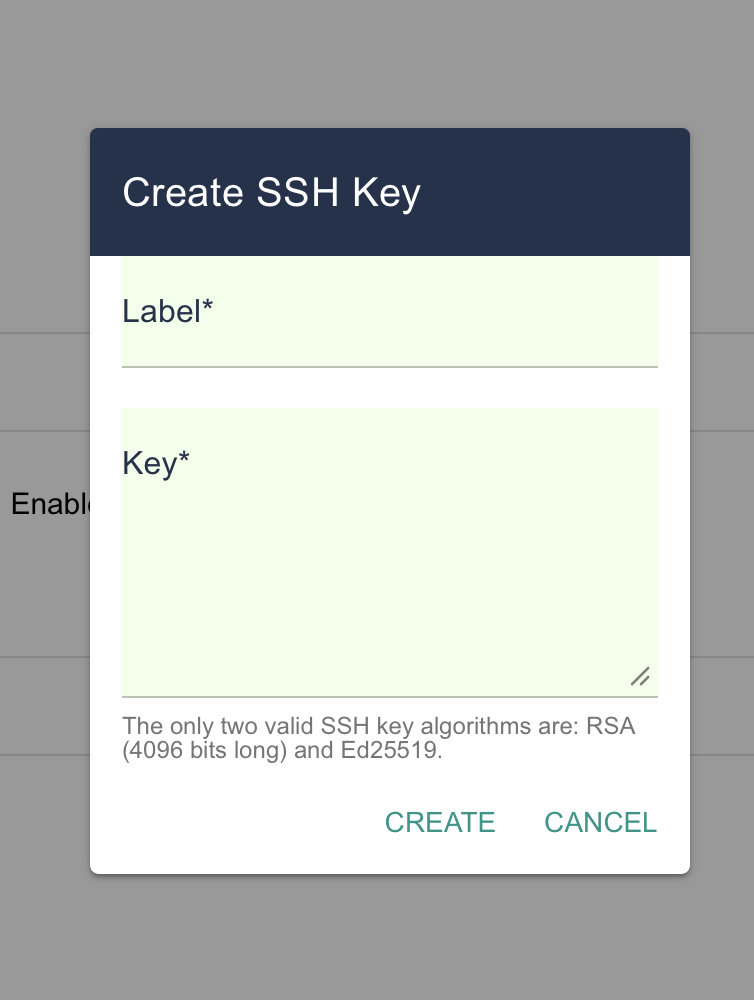
To register your key, click on the Settings item of the menu on the right as shown in the figure below. Then copy and paste the content of your public key file in the text area, or upload the file, and click the Save button.
Please note that there might be up to a 30 minute delay between adding your key and being able to access Deucalion via ssh.
Using SSH
Once you have completed the steps to setting up SSH key pair you can connect to Deucalion via SSH using the folling command:
ssh -i <path-to-private-key> <username>@login.deucalion.macc.fccn.pt
where <path-to-private-key> is the path to the file which contains your private key and <username> is you own username.
Tip 💡 To simplify the login procedure you can define a shorthand alias for the connection parameters (user, host, private key). You may add the following declaration to the SSH user configuration file on your system (~/.ssh/config, create it if it does not already exist):
Host deucalion
   Hostname login.deucalion.macc.fccn.pt
   User <username>
   ForwardAgent no
   IdentityFile ~/.ssh/id_rsa_macc
You will then be able to connect to Deucalion by simply:
ssh deucalion
Using Remote Explorer (VSCode)
To simplify the file operations between your local PC and the remote login node, you may want to access Deucalion using the Remore Explorer extension offered by Visual Studio Code.
If not installed, search for "Remote Explorer" in the Extensions options and install Remote Explorer. Additionally, install the Remote-SSH extension.


Once you have configured the hostname deucalion on the SSH configuration file (~/.ssh/config), you need to connect to it via the extension.
🚨 Note: Sometimes, VS Code installs some packages in the remote machine, leading to an increase of both files and used space. To stop VS Code from automatically pulling and installing GitHub Copilot Chat onto the supercomputer, you need to change a few settings on your local machine's VS Code client.
In VS Code, press Ctrl + P or Cmd + P and type "settings.json".
Open the file and replace its content by the following configuration:
{
    "chat.viewSessions.orientation": "stacked",
    "terminal.integrated.stickyScroll.enabled": false,
    "github.copilot.enable": {
        "*": false,
        "plaintext": false,
        "markdown": false,
        "scminput": false,
        "python": false
    },
    "workbench.colorTheme": "Dark Modern",
    "github.copilot.nextEditSuggestions.enabled": false,
    "workbench.colorCustomizations": {},
    "gitlens.ai.model": "vscode",
    "gitlens.ai.vscode.model": "copilot:gpt-4.1",
    "terminal.integrated.allowChords": false,

    // Stop syncing heavy extensions to the remote cluster
    "settingsSync.ignoredExtensions": [
        "github.copilot",
        "github.copilot-chat",
        "eamodio.gitlens"
    ],

    // Prevent automated background installations on connect
    "remote.SSH.defaultExtensions": [],
    "extensions.autoUpdate": false,

    // Force VS Code to process downloads locally on your laptop
    "remote.downloadExtensionsLocally": true,

    // Stop file searchers from tracking the whole cluster
    "remote.SSH.useLocalServer": true,
    "watcher.watcherExclude": {
        "**/.git/objects/**": true,
        "**/.git/subtree-cache/**": true,
        "**/node_modules/**": true
    }
}
After saving this file locally, log into your login node via SSH and purge the corrupted cache so your quota resets:
rm -rf ~/.vscode-server
After that, you can now connect to the server using Remote Explorer.